今天在纯净版本centos上面安装nginx,输入命令:find -name nginx 发现安装目录存在 输入ps -ef | grep nginx 发现进程也存在,按照网上的方法卸载firewall防火墙 安装iptables防火墙,还是没用,我以为是nginx没监听80端口,去nginx.conf查看,已监听模式,纳闷,最后发现是缺少配置文件,具体请看下方吧,难受香菇
centos7查看防火墙状态
firewall-cmd –state
centos7关闭防火墙
systemctl stop firewalld.service
centos开启防火墙
systemctl start firewalld.service
centos禁止防火墙开机启动
systemctl disable firewalld.service
yum install wget #安装下载工具
wget http://www.atomicorp.com/installers/atomic #下载
sh ./atomic #安装
yum check-update #更新yum源 有的需要更新几次 才有nginx最新版本 否则是老版本nginx
yum remove httpd* php* #删除系统自带的软件包 也可加mysql*前提备份数据库
yum install nginx #安装nginx根据提示输入y进行安装
chkconfig nginx on #设置nginx开机启动
service nginx start #启动nginx 重启 restart
编译安装(久伴是采取的编译安装)
wget http://nginx.org/download/nginx-1.7.8.tar.gz
tar -zxvf nginx-1.7.8.tar.gz
cd nginx-1.7.8
./configure
make && make install
安装nginx需要的包
yum install -y zlib-develyum -y install pcre-develyum -y install gccyum -y install gcc-c++yum install make
添加80端口
firewall-cmd –zone=public –add-port=80/tcp –permanent
命令含义:
–zone #作用域–add-port=80/tcp #添加端口,格式为:端口/通讯协议–permanent #永久生效,没有此参数重启后失效
网络工具
yum install net-tools
使用./nginx -s reload重启nginx报错
nginx: [error] invalid PID number “” in “/usr/local/nginx/logs/nginx.pid”
解决方案
[root@localhost nginx]# cd logs
[root@localhost logs]# ls
access.log error.log nginx-access.log nginx_error.log
果然没有/usr/local/nginx/logs/nginx.pid 文件
解决方法:
[root@localhost nginx]/usr/local/nginx/sbin/nginx -c /usr/local/nginx/conf/nginx.conf
启动nginx出现Failed to start nginx.service:unit not found
在/root/etc/init.d/目录下新建文件,文件名为nginx
或者用命令在根目录下执行:# vim /etc/init.d/nginx (注意vim旁边有一个空格)
插入以下代码
#!/bin/sh# nginx – this script starts and stops the nginx daemin## chkconfig: – 85 15# description: Nginx is an HTTP(S) server, HTTP(S) reverse \# proxy and IMAP/POP3 proxy server# processname: nginx# config: /usr/local/nginx/conf/nginx.conf# pidfile: /usr/local/nginx/logs/nginx.pid# Source function library.. /etc/rc.d/init.d/functions# Source networking configuration.. /etc/sysconfig/network# Check that networking is up.[ “$NETWORKING” = “no” ] && exit 0nginx=”/usr/local/nginx/sbin/nginx”prog=$(basename $nginx)NGINX_CONF_FILE=”/usr/local/nginx/conf/nginx.conf”lockfile=/var/lock/subsys/nginxstart() { [ -x $nginx ] || exit 5 [ -f $NGINX_CONF_FILE ] || exit 6 echo -n $”Starting $prog: ” daemon $nginx -c $NGINX_CONF_FILE retval=$? echo [ $retval -eq 0 ] && touch $lockfile return $retval}stop() { echo -n $”Stopping $prog: ” killproc $prog -QUIT retval=$? echo [ $retval -eq 0 ] && rm -f $lockfile return $retval}restart() { configtest || return $? stop start}reload() { configtest || return $? echo -n $”Reloading $prog: ” killproc $nginx -HUP RETVAL=$? echo}force_reload() { restart}configtest() { $nginx -t -c $NGINX_CONF_FILE}rh_status() { status $prog}rh_status_q() { rh_status >/dev/null 2>&1}case “$1″ in start) rh_status_q && exit 0 $1 ;; stop) rh_status_q || exit 0 $1 ;; restart|configtest) $1 ;; reload) rh_status_q || exit 7 $1 ;; force-reload) force_reload ;; status) rh_status ;; condrestart|try-restart) rh_status_q || exit 0 ;; *) echo $”Usage: $0 {start|stop|status|restart|condrestart|try-restart|reload|force-reload|configtest}” exit 2esac
切记保存代码后使用以下代码给予权限
chmod a+x /etc/init.d/redis
a+x 是给所有人加上可执行权限,包括所有者,所属组,和其他人
o+x 只是给其他人加上可执行权限
切换到usr/local/nginx/sbin 执行./nginx -s relocal重启nginx 如果报错请在nginx目录执行以下代码在重启NGINX服务即可
/usr/local/nginx/sbin/nginx -c /usr/local/nginx/conf/nginx.conf
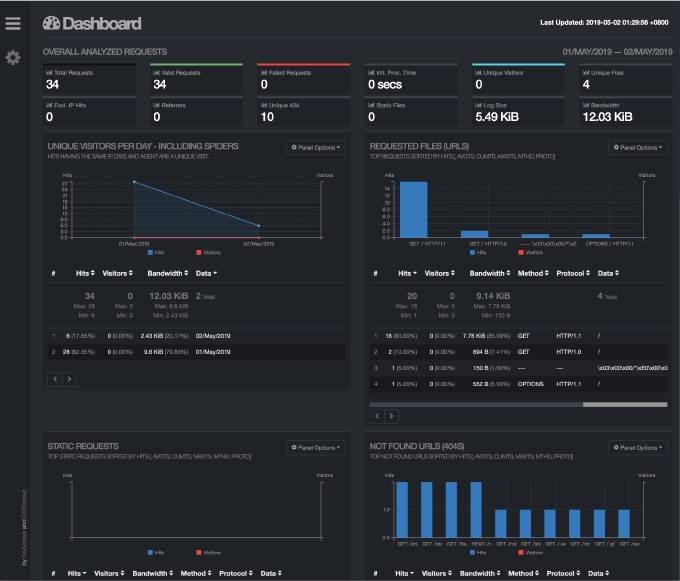
最后刷新外网IP结果如下


